

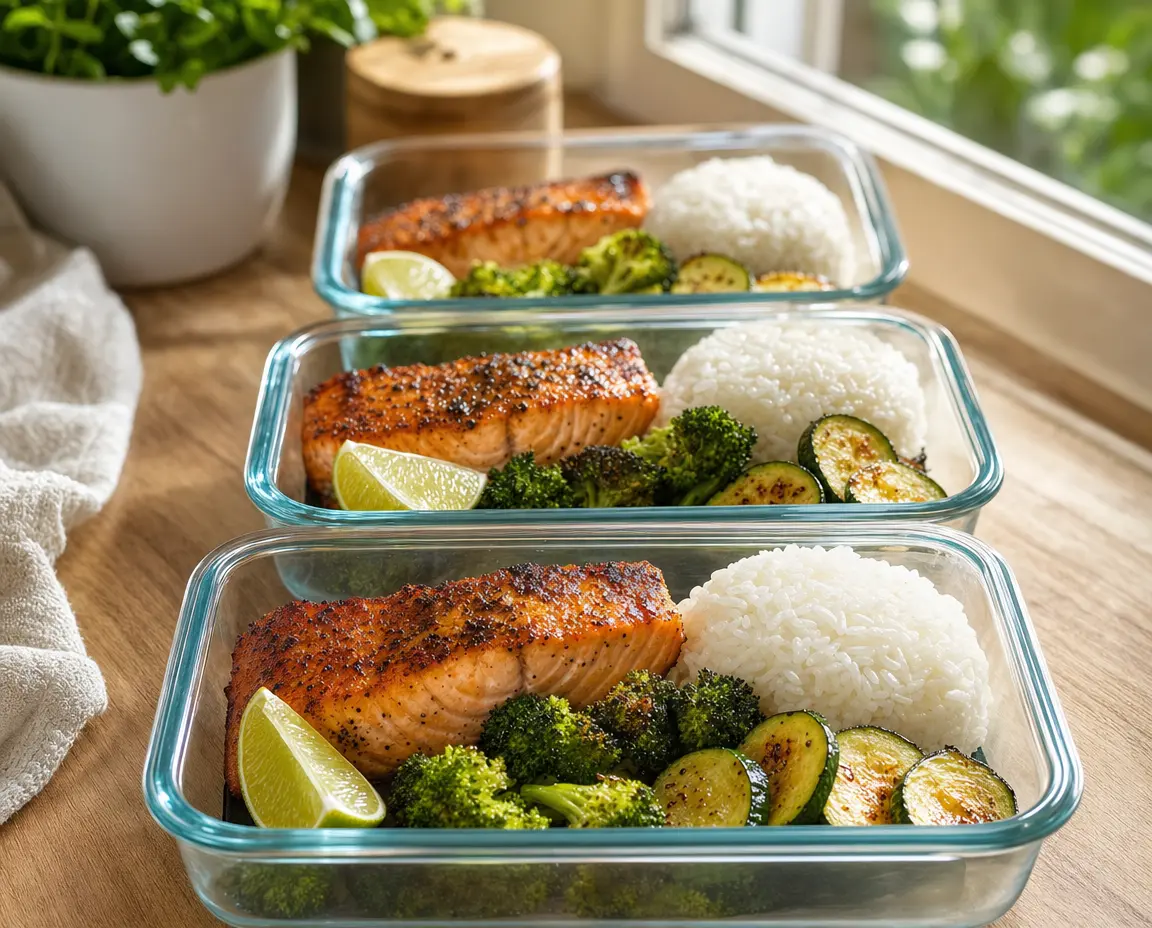
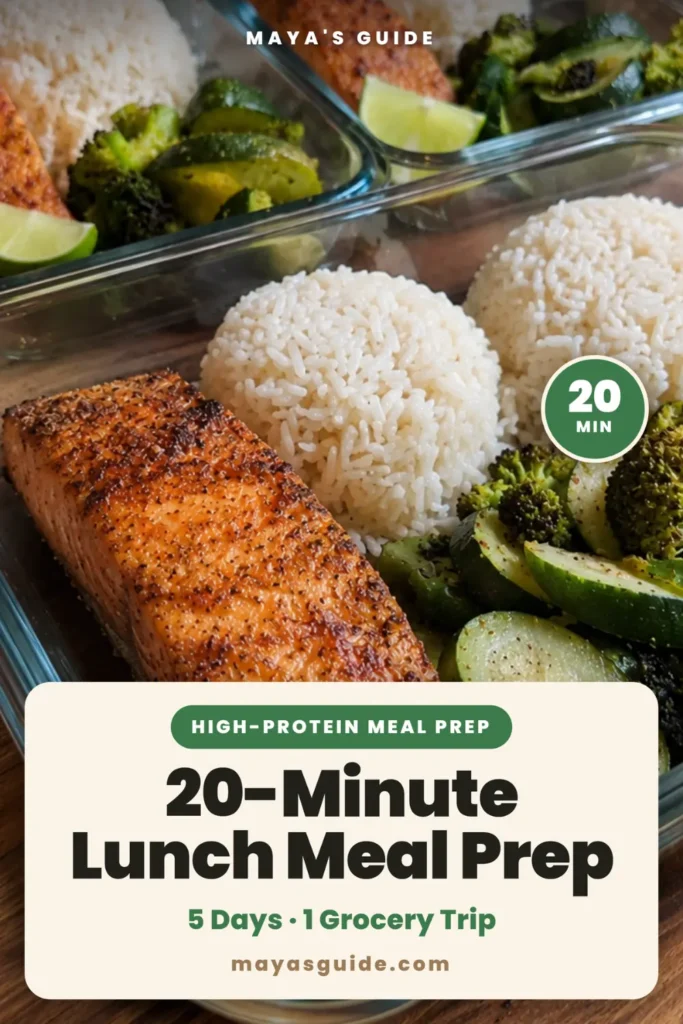
Try this 20-minute high-protein lunch meal prep and you’ll have five days of salmon rice bowls from a single grocery trip — four containers for the fridge, one for the freezer to thaw on day five. Each bowl delivers 33g of protein from pan-seared salmon with a smoky golden crust, fluffy jasmine rice, and charred broccoli and zucchini. Here’s exactly how I make it.
Why You’ll Love This Recipe ❤️
- 33g protein per bowl — the salmon alone delivers 25g, with rice and vegetables rounding out the rest
- 5 days from 1 grocery trip — four containers go in the fridge (safe for 3-4 days per USDA FoodSafety.gov), the fifth goes straight to the freezer for day five
- Ready in 20 minutes — salmon, veggies, and rice all cook simultaneously in separate pans
- Only 7 main ingredients — salmon, rice, broccoli, zucchini, olive oil, smoked paprika, garlic powder
Simple Ingredients, Big Results 🧄
The ingredient list is short, but every component pulls weight. Smoked paprika is what creates the golden crust you see in the photo — regular paprika won’t do this (it has to be smoked). The broccoli and zucchini cook in the same 7-8 minute window as the salmon, which is what makes the 20-minute claim honest rather than aspirational.
Ready in 20 Minutes ⏱️
The timing works because nothing waits on anything else. Rice simmers for 15 minutes covered. Salmon sears 4 minutes per side. Vegetables char in a second pan for 7-8 minutes. If you start the rice first, everything finishes within the same two-minute window.
Healthy and Satisfying 🥗
This is a genuinely satiating meal prep — not a “light” lunch that leaves you hungry by 3pm. The combination of protein (33g), complex carbs from the rice, and fiber (6g) from the vegetables keeps blood sugar stable. It’s also GLP-1 friendly: baked salmon is easy to digest, and the seasoning is mild rather than greasy or spicy.
Want Easier High-Protein Meal Prep Like This?
The 30-Day High-Protein Meal System gives you a full month of planned breakfasts, lunches, dinners and snacks—including high-protein meal-prep recipes with big flavor and simple steps.
Start My 30-Day Protein Plan →Ingredients List 🛒
Buy skin-on salmon fillets if you can — the skin protects the flesh during searing and crisps up beautifully. Skinless works too; just cut 1 minute off the cook time per side. For rice, jasmine rice is the right choice for meal prep because it stays fluffy for days (long-grain works but takes longer; brown rice needs 40 minutes instead of 15).
🥩 For the salmon:
- 1.5 lbs salmon fillets (about 5 pieces, 5-6 oz each — 4 for the fridge, 1 for the freezer)
- 1 tablespoon olive oil
- 1 teaspoon smoked paprika (this is what creates the golden crust)
- ½ teaspoon garlic powder
- ½ teaspoon kosher salt
- ¼ teaspoon black pepper
🌾 For the rice:
- 2 cups jasmine white rice
- 3 cups water
- ½ teaspoon salt
🥦 For the vegetables:
- 1 large head broccoli, cut into small florets (about 4 cups)
- 2 medium zucchini, sliced into ½-inch rounds (about 3 cups)
- 1 tablespoon olive oil
- ½ teaspoon kosher salt
- ¼ teaspoon black pepper
🍽️ For serving:
- 2 limes, cut into wedges
- Optional: 1 tablespoon soy sauce or tamari for drizzling
Step-by-Step Instructions 👩🍳
This recipe works because three things cook at once. Start the rice first, then sear the salmon in one pan while the vegetables char in another. Here’s the exact timing.
Phase One: Start the Rice 📍
- Rinse the rice. Put 2 cups of jasmine rice in a fine-mesh strainer and rinse under cold water for about 20 seconds, stirring with your fingers, until the water runs mostly clear. This removes surface starch that would otherwise make the rice gummy. Combine the rinsed rice, 3 cups water, and ½ teaspoon salt in a medium pot. Bring to a boil over medium-high heat (about 5 minutes), then reduce to low, cover with a tight-fitting lid, and set a timer for 15 minutes. Don’t lift the lid during cooking — every peek lets steam escape and the rice won’t cook evenly.
Phase Two: Sear the Salmon and Char the Veggies 🔥
- Prep the salmon while the rice comes to a boil. Pat the salmon fillets dry with paper towels — this is the step that determines whether you get a golden crust or a pale, steamed mess. Wet salmon cannot develop a sear; it just steams (trust me on this one). In a small bowl, mix the smoked paprika, garlic powder, salt, and pepper. Rub the salmon fillets on all sides with 1 tablespoon olive oil, then sprinkle the spice mixture evenly over both sides, pressing gently so it adheres.
- Start the salmon in a large skillet. Heat a large skillet (cast iron is ideal for crust development) over medium-high heat for 90 seconds until a drop of water sizzles immediately. Place 4 salmon fillets in the pan, skin-side down (or presentation-side down if skinless). Reserve the 5th fillet for the freezer — cook it in the same pan after the first batch, or cook all 5 at once if your pan is large enough. Don’t touch them for 4 minutes — this is what creates the golden crust. While the salmon cooks, move straight to step 4.
- Start the vegetables in a second pan at the same time. Heat 1 tablespoon olive oil in a second large skillet over medium-high heat. Add the broccoli florets and zucchini slices in a single layer — don’t crowd the pan, or they’ll steam instead of char (use two pans if needed). Let them cook undisturbed for 3 minutes to develop char, then stir and cook another 4-5 minutes until the broccoli is bright green and tender-crisp and the zucchini has golden spots. Season with salt and pepper in the last minute. Total veggie cook time: 7-8 minutes.
- Flip the salmon and finish cooking. At minute 9 (4 minutes after starting the salmon), use a thin spatula to flip each fillet. Cook another 3-4 minutes on the second side, until the salmon reaches 145°F on a meat thermometer inserted into the thickest part — this is the USDA safe minimum internal temperature for fish. The flesh should flake easily when twisted with a fork. Remove from heat and let the salmon rest for 3 minutes so the juices redistribute (cutting immediately lets them leak out).
Phase Three: Assemble the Bowls 🎨
- Divide everything into 5 meal prep containers. Use glass containers with snap-locking lids (the 3-compartment kind work best). In each container, put: ⅔ cup cooked jasmine rice (fluffed with a fork first), one salmon fillet placed on top of the rice so it doesn’t get soggy, 1 cup of the cooked broccoli and zucchini mixture, and a lime wedge tucked into a corner.
- Four containers go in the fridge, one goes in the freezer. This is the food-safety rule that makes 5-day salmon prep work: cooked salmon is only safe 3-4 days in the fridge per USDA FoodSafety.gov, so containers 1-4 cover Monday through Thursday, and container 5 goes straight into the freezer for Friday. Thaw the frozen container overnight in the fridge before reheating. Frozen cooked salmon keeps for 2 months.
Pro Tips for Success 💡
🌡️ Use a meat thermometer for the salmon. The USDA safe minimum is 145°F, and that’s exactly where you want to pull it — the internal temperature will rise another 2-3 degrees while it rests. If you don’t have a thermometer, use the flake test: press a fork into the thickest part and twist gently. If the flesh separates easily into opaque flakes, it’s done (this is the game-changer for consistent results).
💧 Dry the salmon before seasoning — every time. This is the single most important step for the golden crust you see in the photo. Wet salmon produces a pale, steamed surface instead of a sear, and the spice rub slides off instead of sticking. Paper towels and 30 seconds of patience solve this completely.
Reheat salmon at 275°F in the oven, not the microwave. This is the number-one reason people think they hate meal-prepped salmon. Microwaving on high cooks it further and turns it rubbery. Instead, put the salmon in an oven-safe dish, cover loosely with foil, and warm at 275°F for 12-15 minutes until it reaches 130°F internally. It’ll taste freshly cooked. If you only have a microwave at work, use 50% power in 30-second bursts — never full power.
Pack the lime wedge separately from the salmon. If the lime sits against the salmon for 4 days, the acid starts to “cook” the fish (like ceviche) and the texture gets mushy on that side. Tuck the lime into its own compartment or wrap it in a small piece of plastic wrap.
Cut the broccoli into small florets, not large ones. Small florets (about 1-inch) cook in 7 minutes. Large florets take 12+ minutes, and the outside burns before the inside is tender. This is about surface-area-to-volume ratio — smaller pieces cook faster and more evenly.
Label the freezer container with the date. Frozen cooked salmon keeps for 2 months, but only if you remember when you froze it. A piece of masking tape and a sharpie take 10 seconds and save you from the “is this still good?” guesswork later.
Common Issues and Fixes ⚠️
The salmon stuck to the pan. Your pan wasn’t hot enough, or you tried to flip too early. A properly seared salmon fillet releases on its own when it’s ready — if you have to force the spatula under it, give it another 30 seconds. Also, make sure you dried the salmon before seasoning; wet fish sticks.
The salmon is dry and overcooked. You went past 145°F. Salmon goes from perfect to dry quickly, so check the temperature at the 3-minute mark on the second side. To rescue dry salmon, flake it into the rice and drizzle with soy sauce and a squeeze of lime — the added moisture helps compensate.
The vegetables are mushy. You overcrowded the pan. Vegetables need space to char instead of steam. If your pan is smaller than 12 inches, cook the broccoli and zucchini in two batches, or use two pans. Mushy vegetables can’t be fixed, but they’re still edible.
Storage and Shelf Life ❄️
Store containers 1-4 in the refrigerator for up to 4 days. According to USDA FoodSafety.gov, cooked fish is safe in the fridge for 3-4 days when stored at 40°F or below. The salmon, rice, and vegetables all hold their texture well because they’re not sitting in liquid. Keep the lime wedges in their compartments, and add soy sauce or other condiments right before eating rather than storing them in the container (otherwise the rice gets soggy).
Container 5 goes straight into the freezer. Label it with the date and freeze for up to 2 months. Thaw overnight in the fridge before reheating (so move it from freezer to fridge on Thursday night for Friday lunch). Note that the zucchini texture changes slightly after freezing — it gets softer — but the salmon and broccoli reheat beautifully. If you want the freezer portion to hold up better, under-cook the zucchini by 1 minute before packing that container.
Recipe Variations 🔄
Swap the grain. Brown rice, quinoa, or cauliflower rice all work. Brown rice takes 40 minutes instead of 15, so start it first. Quinoa takes 15 minutes (same timing as white rice). Cauliflower rice takes 5 minutes — sauté it in a pan with a little oil while the salmon rests. For more high-protein meal prep ideas, try my High-Protein Corn Chicken Rice Bowls — same method, different protein.
Change the seasoning. The smoky paprika rub is the default, but lemon pepper seasoning (1 tablespoon), everything bagel seasoning (1 tablespoon), or a honey-soy glaze (2 tablespoons soy sauce + 1 tablespoon honey + 1 teaspoon ginger, brushed on in the last 2 minutes) all work well.
Add a sauce. These bowls are delicious with a drizzle of spicy mayo (2 tablespoons mayo + 1 teaspoon sriracha), a squeeze of the lime wedge, or a tablespoon of ponzu sauce. Pack sauces in separate small containers so the rice doesn’t get soggy.
Swap the vegetables. Asparagus (cut into 2-inch pieces), green beans, or bell peppers all cook in the same 7-8 minute timeframe. Avoid leafy greens like spinach — they wilt into nothing when reheated.
What to Serve With This 🍽️
These bowls are nutritionally complete on their own — protein, carbs, and vegetables in one container. If you want to round them out: a small cup of miso soup (instant packets just need hot water) adds warmth and saltiness. A handful of edamame on the side adds another 8g protein for about 100 calories. For a lighter lunch option, pair this with my 5 Mason Jar Noodle Soups, or try my Taco Meal Prep Bowls for a Tex-Mex twist for a two-course meal. For a drink, iced green tea with lemon is refreshing and zero-calorie.
Common Questions ❓
Q: Can I make this recipe ahead of time?
A: Yes — this is designed for Sunday prep, Monday through Friday eating. Four containers go in the fridge (safe for 3-4 days per USDA FoodSafety.gov), and the fifth goes straight to the freezer. Thaw the freezer container overnight in the fridge before reheating.
Q: Can I freeze this?
A: Yes, that’s exactly what the fifth container is for. Frozen cooked salmon keeps for 2 months. The salmon and broccoli reheat beautifully. The zucchini gets a bit softer after freezing — still edible, just less crisp. If you want better texture on the freezer portion, under-cook the zucchini by 1 minute before packing that container.
Q: Can I use frozen salmon instead of fresh?
A: Yes, but thaw it first. Put the frozen salmon in the fridge overnight, or seal it in a bag and submerge in cold water for 30 minutes. Never cook salmon from frozen for this recipe — it won’t develop the golden crust. Also, pat it extra dry after thawing, because frozen salmon releases more moisture than fresh.
Q: How do I know when the salmon is done?
A: The USDA safe minimum is 145°F on a meat thermometer inserted into the thickest part of the fillet. If you don’t have a thermometer, use the flake test: press a fork into the thickest part and twist gently — if the flesh separates easily into opaque flakes, it’s done. The salmon should look opaque pink throughout, not translucent.
Q: My salmon turned out dry — what went wrong?
A: You overcooked it. Salmon goes from perfect to dry quickly past 145°F. Check the temperature at the 3-minute mark on the second side, and remember that the internal temperature rises another 2-3 degrees while it rests. To rescue dry salmon, flake it into the rice and add extra soy sauce and lime. Next time, pull it at 143°F and let it coast to 145°F while resting.
Nutrition Information 📊
Here’s the nutrition breakdown for one bowl (1 salmon fillet, ⅔ cup rice, 1 cup vegetables, lime wedge), calculated using USDA FoodData Central data for each ingredient, summed and divided by 5 servings. Calories are calculated using Atwater factors (4 cal/g protein, 4 cal/g carbs, 9 cal/g fat):
- Calories: 571 kcal (calculated from macros)
- Protein: 33g
- Carbohydrates: 40g
- Dietary Fiber: 6g
- Total Sugars: 4g (natural sugars from vegetables)
- Total Fat: 31g
- Saturated Fat: 5g
- Sodium: 425mg (includes added salt)
- Cholesterol: 85mg
Macro Breakdown:
- Protein: 23% of calories
- Carbs: 28% of calories
- Fat: 49% of calories
Diet Tags: This recipe is: Gluten-Free (if using tamari instead of soy sauce), Dairy-Free, Nut-Free, High-Protein, GLP-1 Friendly
Allergens:
- Contains: Fish (salmon)
- May contain: None (if using tamari instead of soy sauce, no wheat/soy)
- If using soy sauce: Contains Fish, Wheat, Soy
Nutrition Notes: This recipe is high in protein (33g per bowl) from the salmon, making it satiating for GLP-1 users and macro trackers. Salmon is also a rich source of omega-3 fatty acids. The nutrition data was calculated using USDA FoodData Central values for each ingredient (farmed Atlantic salmon, jasmine rice, broccoli, zucchini). Calories were calculated from macros using Atwater factors; USDA-measured calories for individual ingredients may differ slightly due to ash and fiber content. WW Points: (estimated — calculate using WW app).
Final Thoughts ❤️
This recipe works because it respects the physics of cooking: three components cooking simultaneously in separate vessels, each finished within the same two-minute window. The smoky paprika rub is the right choice for salmon because it caramelizes at searing temperature without burning (unlike fresh herbs or garlic, which scorch). The broccoli and zucchini pairing isn’t random — they share the same 7-8 minute cook time, which is what makes the 20-minute claim honest. The 4-plus-1 fridge-freezer split is what makes the 5-day promise food-safe. If you loved this recipe, my Weekly Meal Planner Bundle has 4 weeks of done-for-you meal prep plans just like this one, with grocery lists and prep schedules — check it out from the link below.
Weekly Meal Planner Bundle — Plan once, eat all week with 4 weeks of meal prep plans, grocery lists, and prep schedules. Includes printable planners, recipe cards, and pantry inventory sheets. Get it here.
Nutrition is an estimate and varies by brand and portion. This is general information, not medical advice.
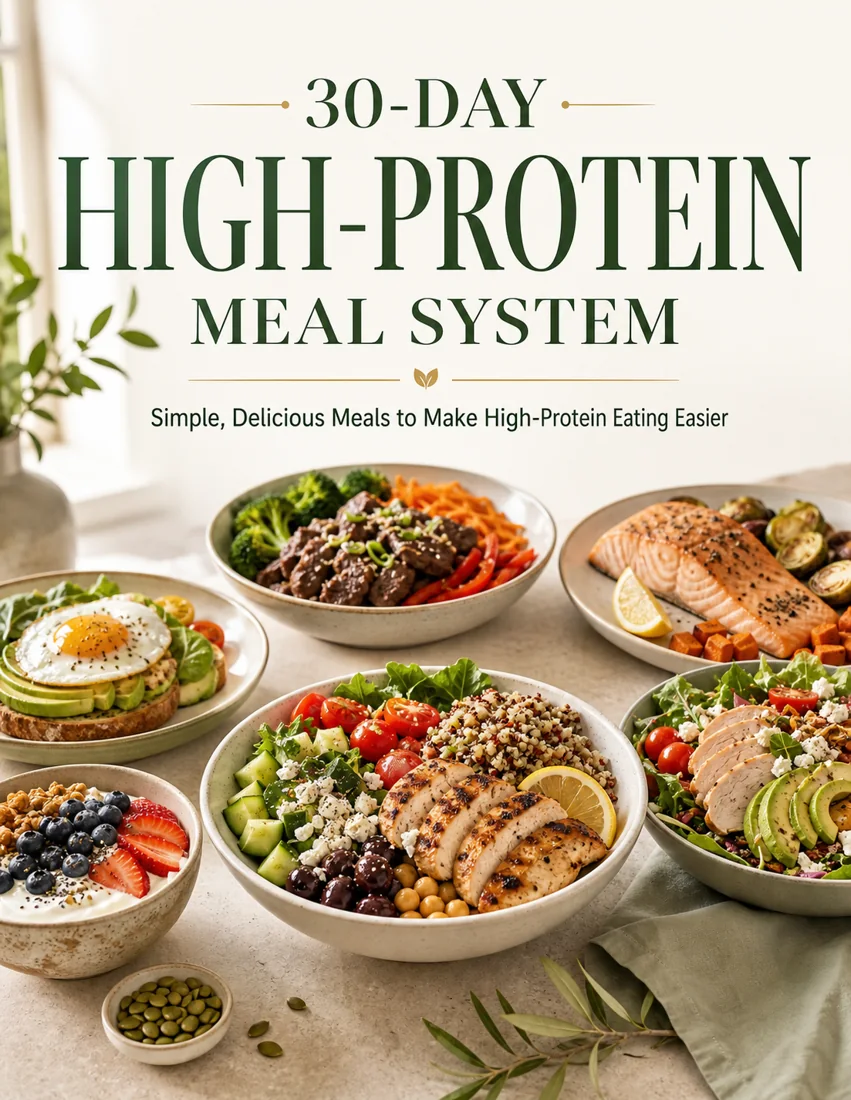
Stop figuring out your protein meals one day at a time
This recipe solves today. The 30-Day High-Protein Meal System solves the whole month—planned, shopped and prepped for you.
- ✓ 30 days of high-protein breakfasts, lunches & dinners
- ✓ Weekly grocery lists & meal-prep guidance
- ✓ High-protein snacks and treats with big flavor
- ✓ Simple ingredients, clear steps, built-in variety


Pingback: Meal Planning Lunches for Work: 5-Day Weekly Guide
Pingback: 50+ Low Calorie High Protein Meals (Easy Recipes)
Pingback: 30+ Easy 30g Protein Lunch Ideas for Work
Pingback: Beginner Sunday Meal Prep Plan (5 Meals, 1 Grocery Trip)